
DIY: Kitchen Demolition and Renovation Prep
This guide outlines a thorough process for demolishing a kitchen, providing detailed steps to safely and efficiently clear out the space for renovation. Please take all of the necessary safety precautions, do as much additional research as possible, and do not put yourself in harm’s way!
We always recommend hiring a professional who specializes in the removal of specific structural features (selective demolition) to avoid harm to yourself or damage to the integrity of your home.
First thing’s first…
Safety
Wear Safety Gear: Ensure the use of gloves, masks, goggles, and protective clothing.
Ventilate the Area: Keep the space well-ventilated to manage dust and fumes.
Handle Utilities with Care: Be cautious when dealing with plumbing, electrical, and gas lines to prevent damage or accidents. Tape any exposed wires with electrical tape.
Preparation
Gather Tools & Supplies: Essential tools include a sledgehammer, pry bar, utility knife, drill, reciprocating saw, safety gear (goggles, gloves, masks, etc.), and containers for debris.
Get Your Permits: Make sure you have all of the necessary permits for demolition.
Shut Off Utilities: Turn off water, electricity, and gas to avoid hazards.
Protect Surrounding Areas: Use plastic sheeting and painter’s tape to cover doors, floors, and vents to protect the rest of the house from dust and debris. Use an air scrubber or a negative air machine if possible (an air scrubber will be better suited for smaller spaces, whereas a negative air machine will be better suited for large spaces). Make sure either option has a HEPA filter to remove dust and other particles from the air.
Demolition Process
Clear the Room:
Remove Appliances: Disconnect and remove all appliances, including the refrigerator, oven, and dishwasher. Turn off the water supply to the dishwasher and refrigerator, then disconnect them carefully.
Cabinets and Countertops: Unscrew and remove the cabinets from the walls and floors. Pry off countertops and disconnect any attached plumbing or electrical fixtures.
Remove Fixtures:
Sink: Turn off the water supply and disconnect the plumbing before removing the sink.
Lighting Fixtures: Turn off the electricity and remove light fixtures carefully.
Remove Flooring:
Tile: Use a chisel, chipping gun, or pry bar to lift and remove tiles.
Vinyl or Linoleum: Cut into manageable sections and pry up, removing any adhesive residue.
Remove Walls:
Make sure to identify any load bearing walls.
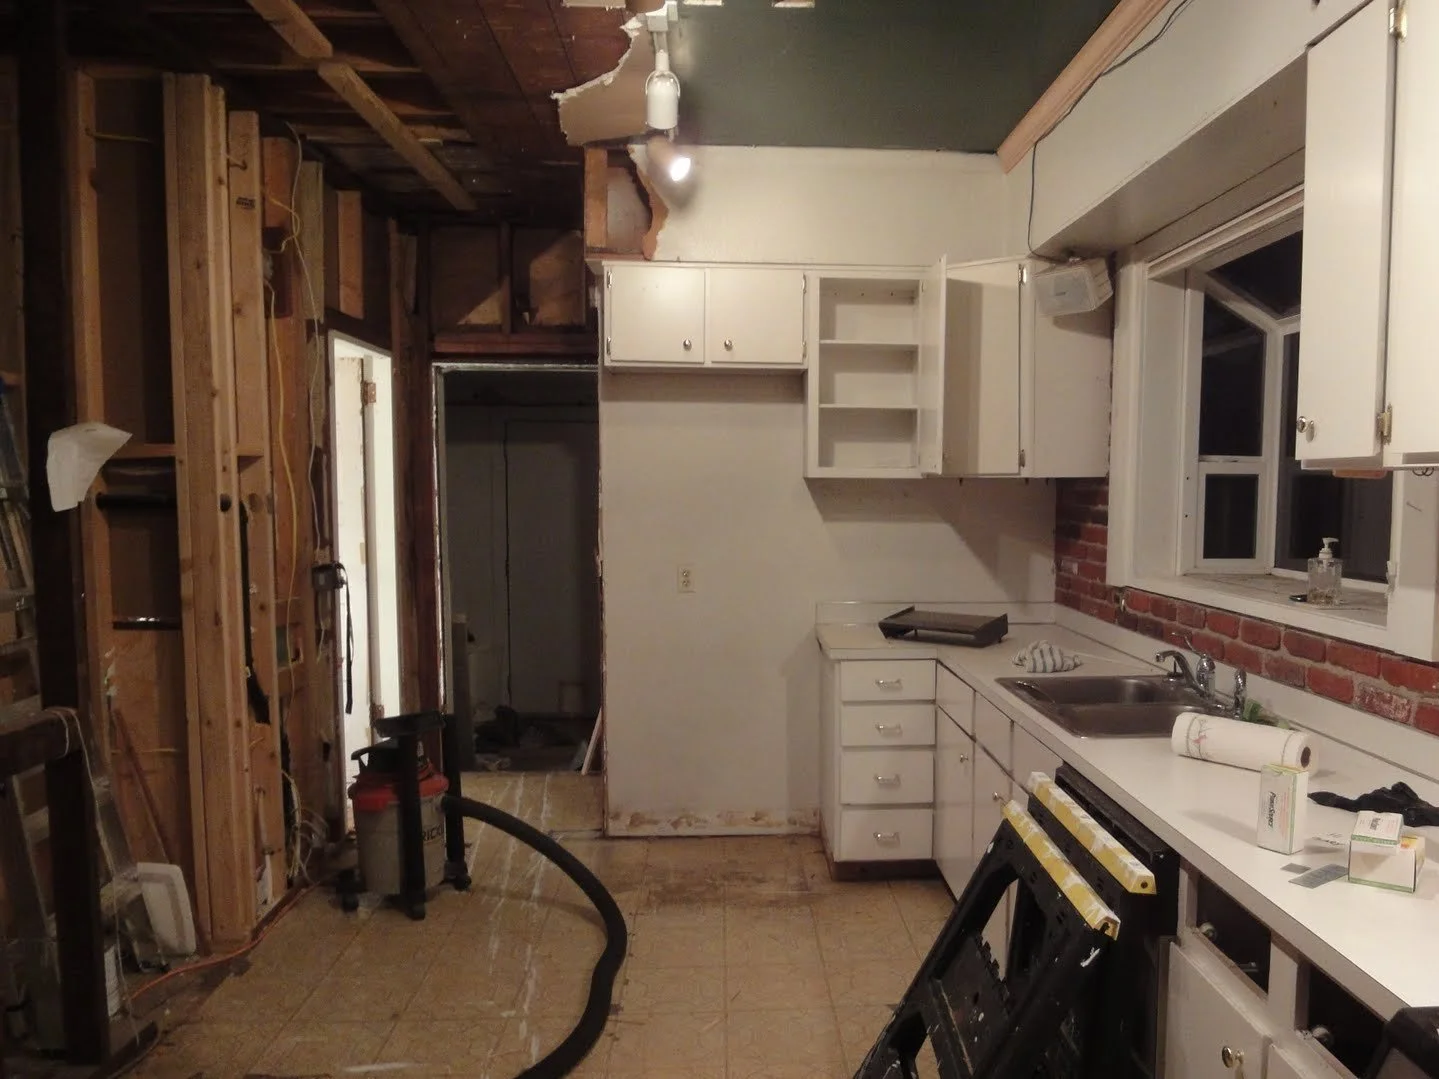
Drywall: Use a utility knife to cut around outlets and switches, then remove drywall sections with a hammer. If needed, cut and remove studs, ensuring not to damage any load-bearing structures. When removing drywall, we recommend putting the discarded drywall in a bin, sealing it up, and then carrying it outside to avoid tracking debris throughout the house on your way out.
Clean Up
Debris Disposal: Bag up debris and dispose of it properly, using a dumpster if necessary.
Inspect and Prepare: Check for any remaining fixtures or materials and prepare the space for the next steps in your renovation.
If this sounds like too much of an undertaking or if you’re starting to get the impression that you might be in a little over your head, feel free to give us a call or request a quote below and we’ll make sure that the job gets done right so that you can get started on your renovations.